Outlook 2010 Email Setup
- Start Microsoft Outlook 2010.2
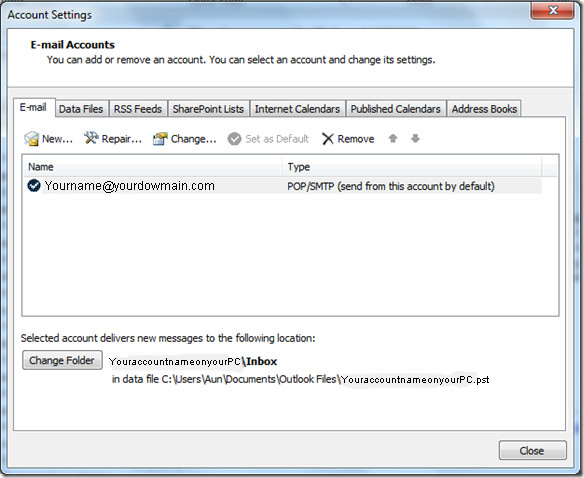
- Click the Office button, located in the lower, left corner of your taskbar and select Info.

- Click the Account Settings drop-down menu, then choose Add Account.
- Check Manually configure server settings or additional server types, then click Next.
- Select Internet Email, then click Next.
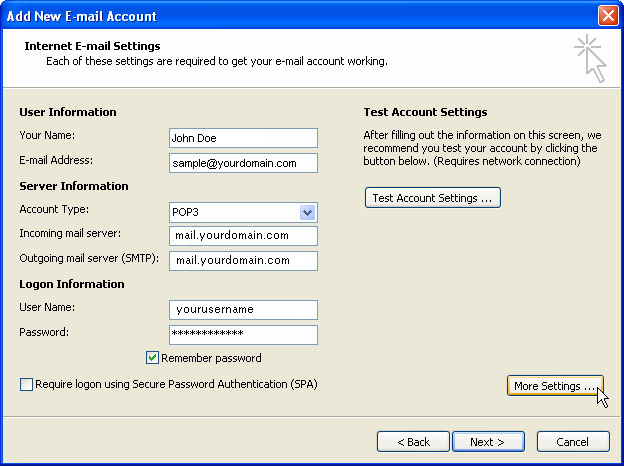
- Enter your full name in the Your Name field, then an email address in the Email Address field.
- Select POP3 in the Account Type drop-down menu.
- Enter mail.domainname.com in the Incoming Mail Server field.
- Enter mail.domainname.com in the Outgoing Mail Server field.
- Enter your username and password in the field below. Also, click remember password so you don’t have to enter it again.
- Click More Settings.
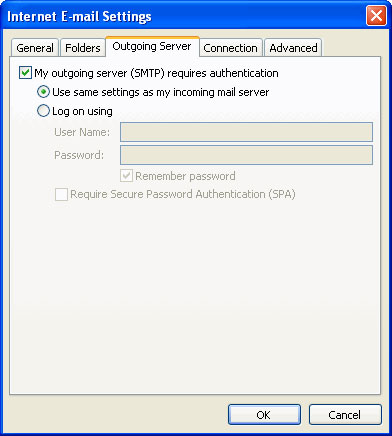
- Select the Outgoing Server tab.
- Check My Outgoing Server Requires Authentication, then select Use Same Settings As My Incoming Mail Server.”
- Select the Advanced tab and enter 110 in the Incoming Server (POP3) field.
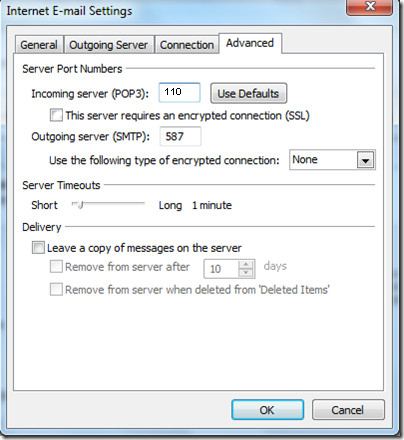
- Enter 587 in the Outgoing Server field.
- A POP connection removes email from the server during download. If you want to access these messages from other email clients, check the “Leave a copy of messages on the server” checkbox, and set preferences as desired.
- Click OK to go back to the email settings page.
- Check the settings by clicking Test Account Settings on the Internet Email Settingsscreen. After the test is completed, click Close.
- Click Next then click Finish